What are you looking for?
How to Create an Itinerary
In this guide, we’ll walk you through the process of crafting your own personalized itinerary from scratch. Whether you’re planning a dream vacation or a weekend getaway, TRAWE makes it easy to design the perfect travel experience. Let’s get started on creating your next adventure!
Create an Itinerary
To start crafting your own adventure, head to the “Create” tab. Here, you can create a new itinerary including all details:
- Name: give your itinerary an expressive name.
- Description: add a description or a note to your itinerary.
- Access level: decide to publish the itinerary in your profile or keep it private for you.
- You can also upload pictures to give it a personal touch. We recommend to select a main image for the itinerary. This can be changed or delete later.
- Tap “Save” button to save your itinerary.
Discover more about your itinerary page in our tutorial and elevate your travel planning experience!
Add activities
Now you can add activities to your itinerary to determine what are the places or events or any activity you want to insert in your itinerary
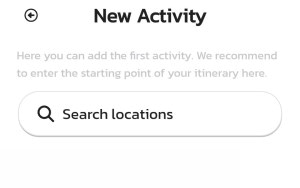
From your library page tab the “Plus” button next to the “Activities” section.

- In “Search Location” box, type your location of your activity.
- You can use location default information option: this feature simplifies the planning process by automatically filling in the location details for your activities.

- Or you can fill the details manually:
Mode of Transportation
- Based on your experience, recommend the most efficient mode of transportation to reach this location. Select from various modes like airplane, train, car, or walking.

Name
- Give the activity an expressive name.
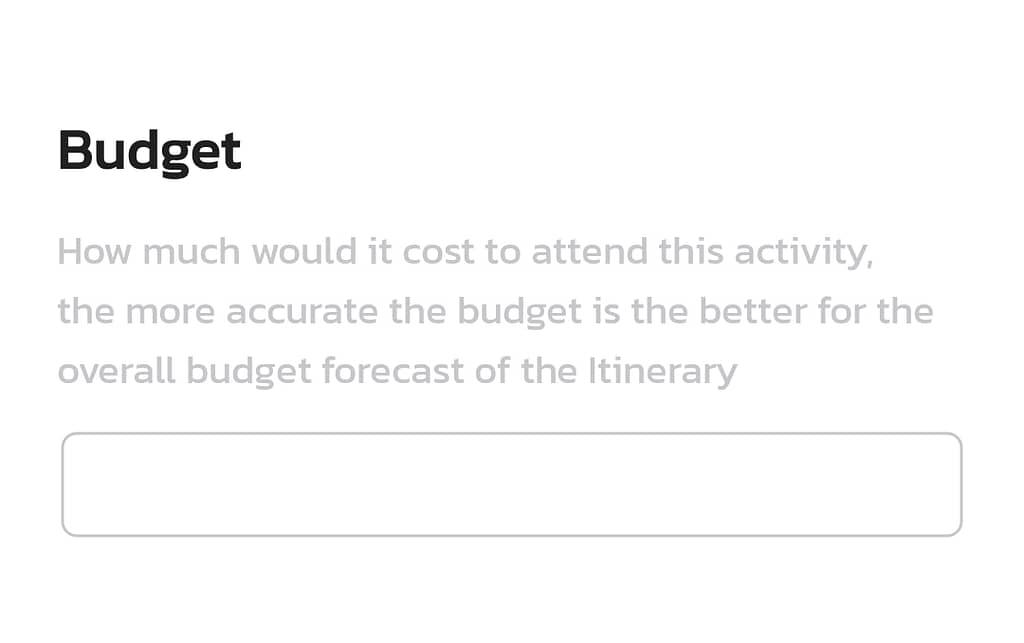
Budget
- Estimate how much would it cost to attend each activity.
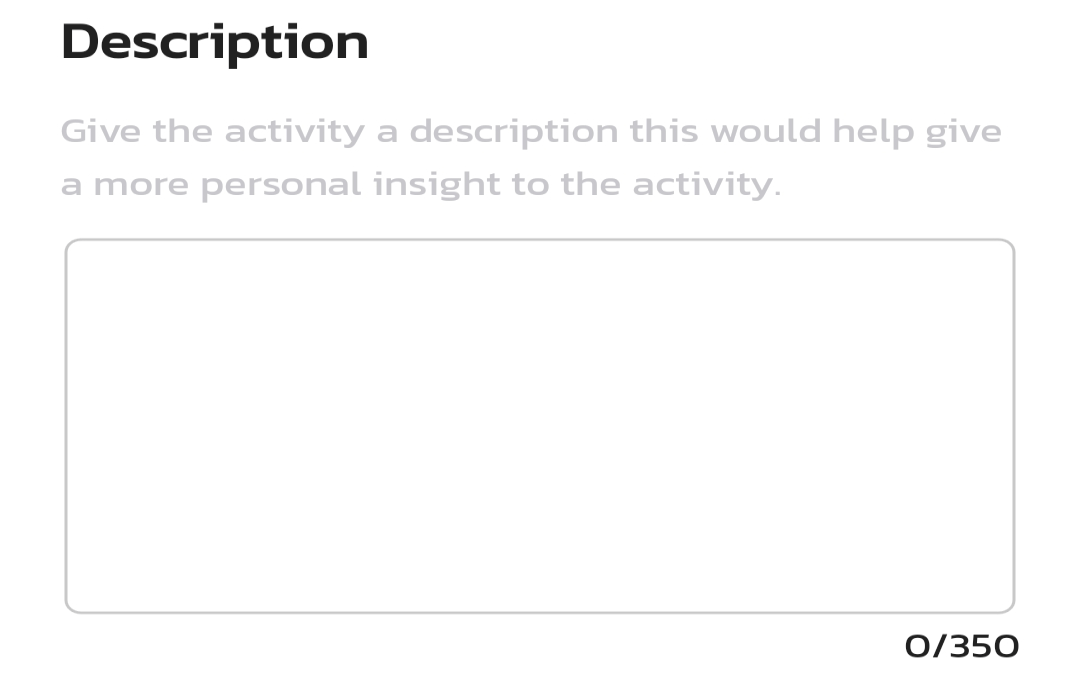
Description
- This is an opportunity to give more personal insights into each activity. Users can share what makes an activity special, why they’ve included it, or any unique recommendations
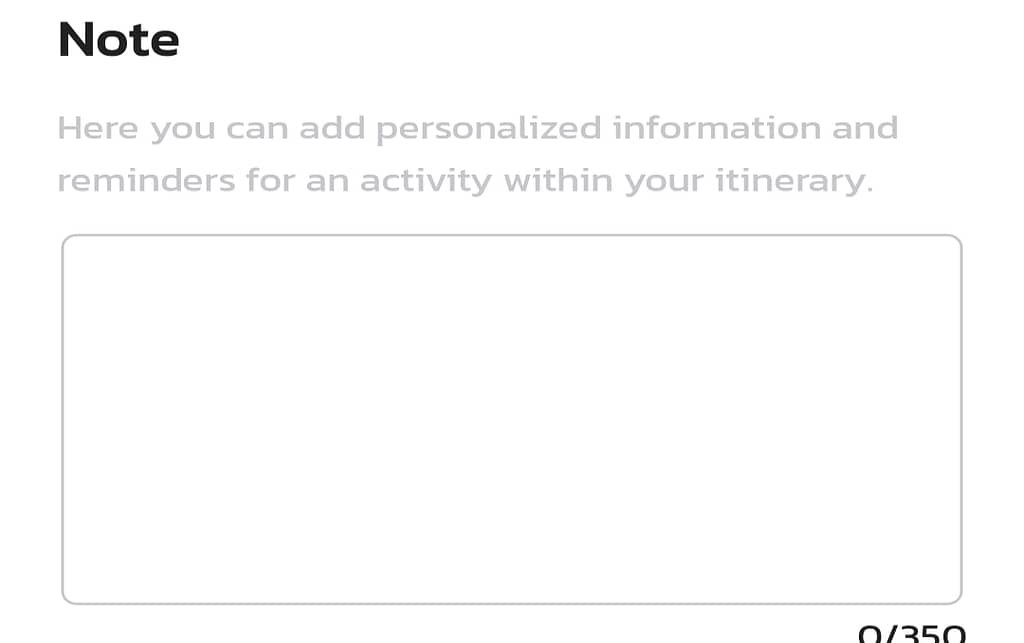
Notes
- Users can add personal information and reminders for each activity. These could include reservation details, contact information, or anything they need to remember during the trip.
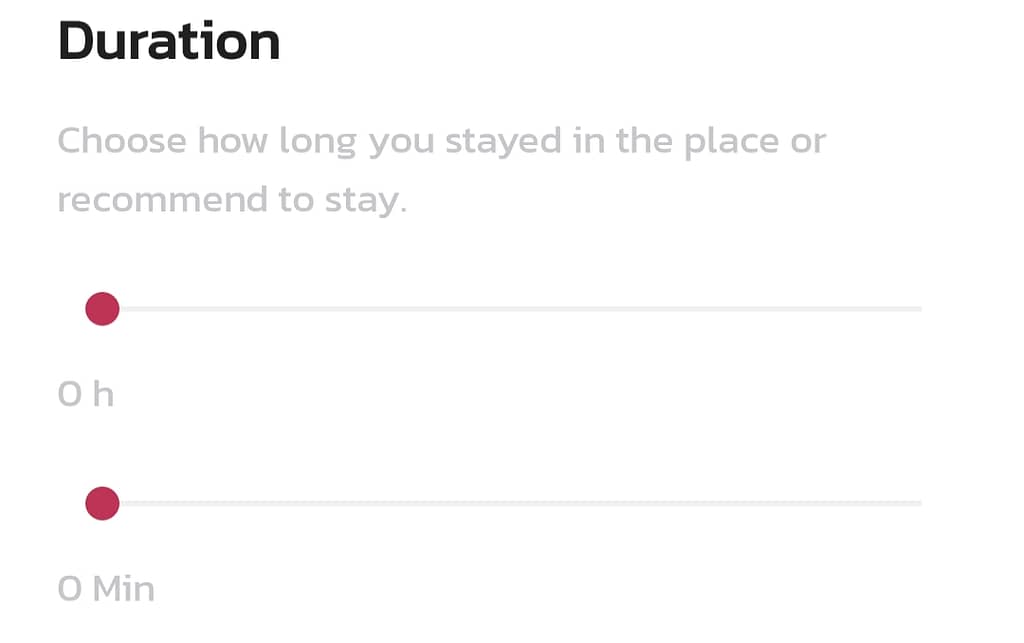
Duration
- Define the duration of each activity. How long you stayed there or how much time you recommend spending.
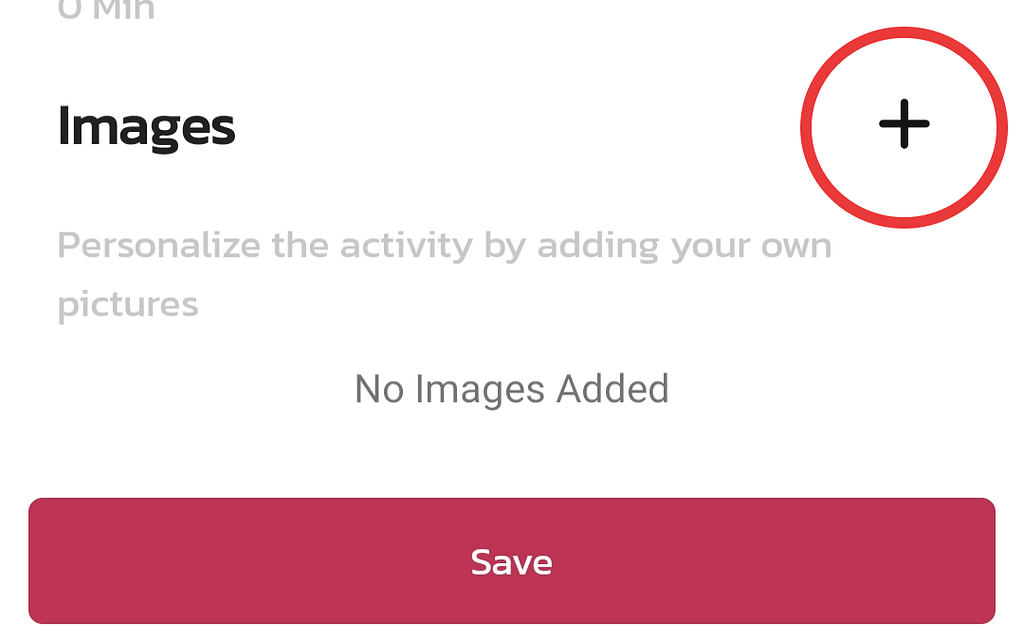
Add images
- Make the activity uniquely yours by adding your own pictures. Share your perspective with the community.
Add instructions
This feature allows you to enhance your itinerary by including detailed instructions, recommendations, and personal insights for each part of your journey.
Tap on the three dots above, a menu will appear, then choose “Add Instruction”.

Now fill the instruction details:
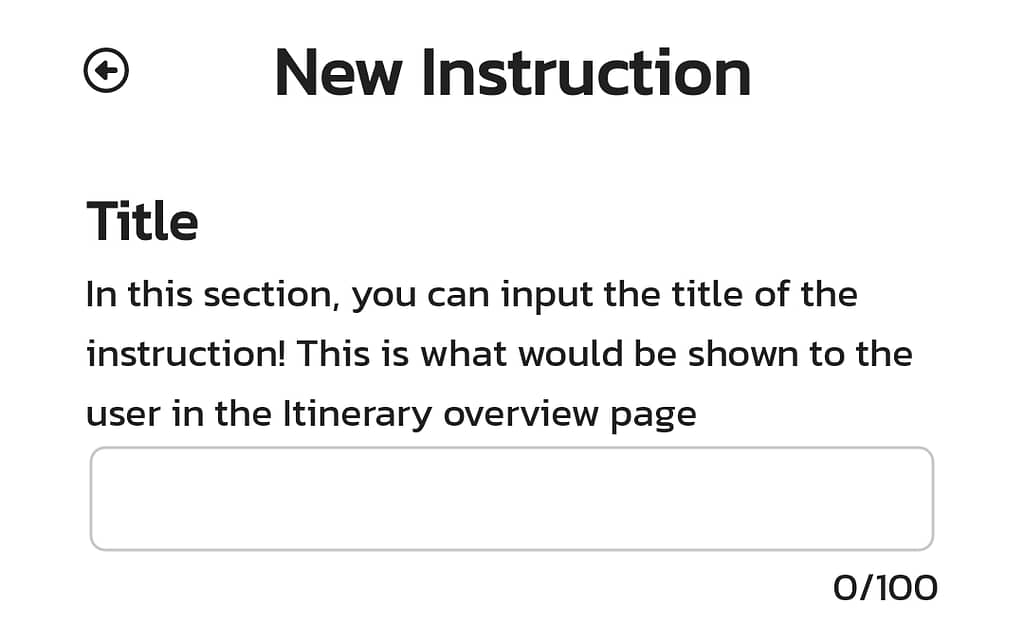
Title
- This is what would be shown to the user on the Itinerary overview page.
Ex: “Parking”
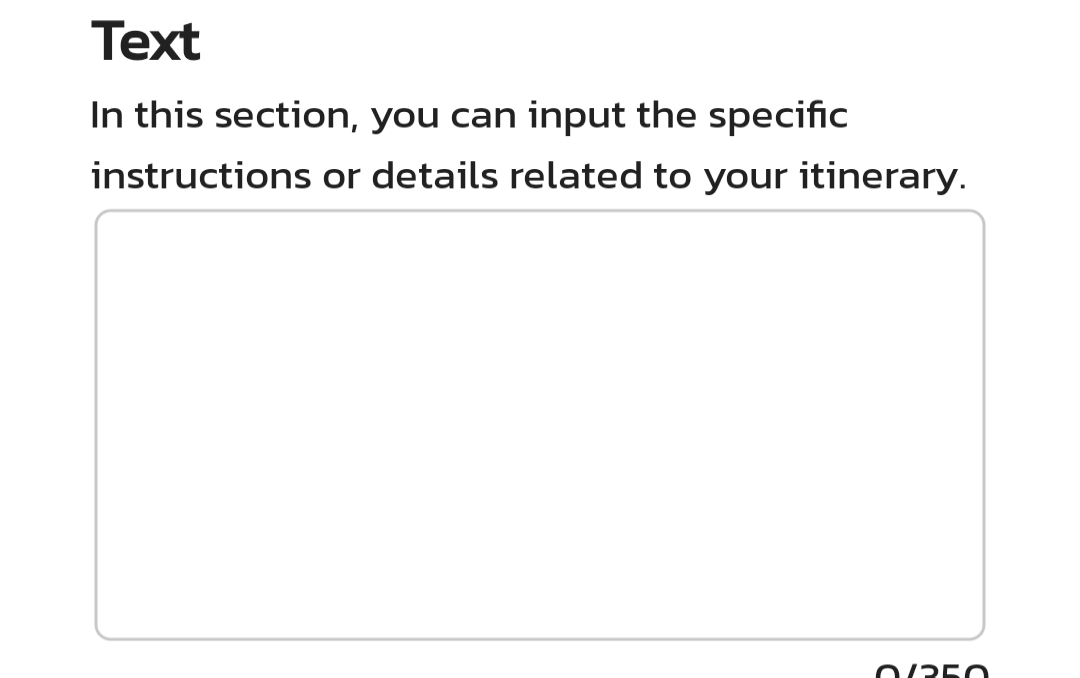
Text
- input the specific instruction or details to your itinerary,
EX:”There’s a nearby parking facility that is budget-friendly, operating from 7 a.m. to 1 a.m. Ideal for cost-effective and accessible parking during your itinerary.”
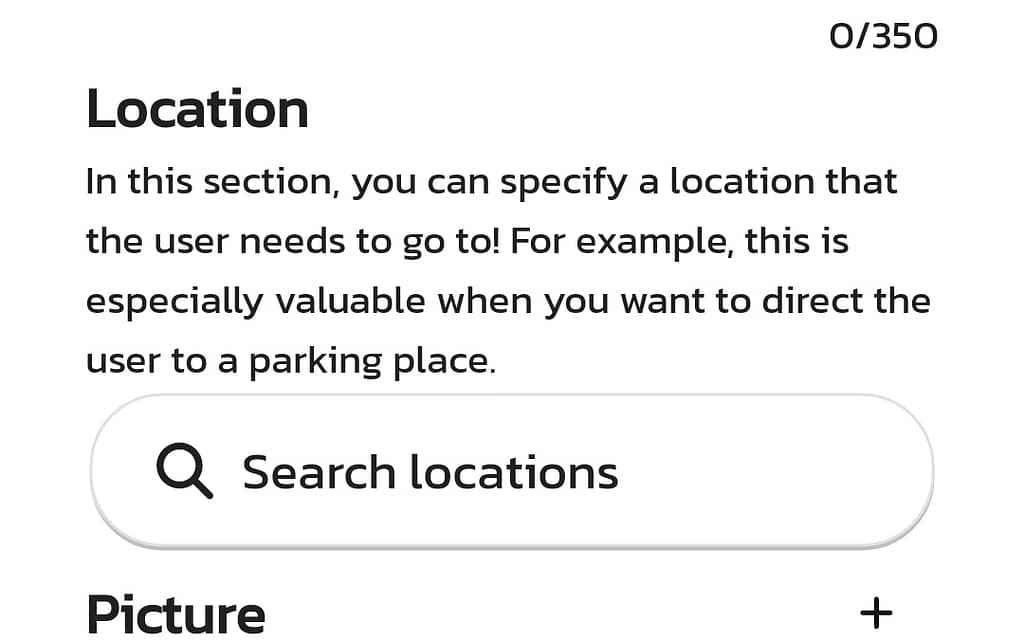
location
- In this section, you can specify a location that the user needs to go to!
EX: direct the user to a parking place.

Picture
- Adding image will make the instruction clearer.
Update an itinerary
To update an itinerary you have created:
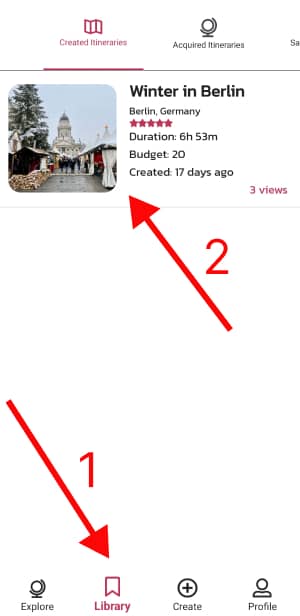
Go to the library tab and select the one you want to edit.
Tap on the three dots above, a menu will appear, then choose “Edit Itinerary”.

Customize it as you like and take note of the option to import pictures from the activities you’ve included in this itinerary.
Tap “Update” button when you finish editing.
Delete an itinerary
To delete an itinerary you created:
Go to the library tab and select the one you want to delete.
Tap on the three dots above, a menu will appear, then choose “Delete Itinerary”.
Confirm Deletion of the itinerary.
There is another way to delete the itinerary:
Go to the library tab, select the itinerary you wish to delete, swipe it to the right, and confirm the deletion.
Update an activity
To update an activity from an itinerary you created:
Open the activity you want to edit.
Tap on the three dots above, a menu will appear, then choose “Edit Activity”.
Customize it as you like and make sure to tab “Update” button when you finish editing.
Delete an activity
To delete an activity from an itinerary you created:
Open the activity you want to delete
Tap on the three dots above, a menu will appear, then choose “Delete Activity”.
Confirm the deletion.
There is another way to delete the activity:
Go to the library tab, select the itinerary that includes that activity you wish to delete, swipe it to the right, and confirm the deletion.
Update an instruction
To update an instruction from an itinerary or activity you created:
Go to the Itinerary tab, select the itinerary or an activity that includes that instruction you wish to edit, swipe it to the right, and confirm the deletion.
Delete an instruction
To delete an instruction from an itinerary or activity you created:
Go to the library tab, select the itinerary or activity that includes thet instruction you wish to delete, swipe it to the right, and confirm the deletion.